Shop by type
Top sellers
- Diamond Nic Salts
- Blue Crystal by Scripture
- Blue Crystalby Scripture
- Watermelon By Smoknic
- Strawberry By Smoknic
- Starawberry Mint By Smoknic
- Menthol By Smoknic
- Menthol Sensation by Smoknic
- Juicy Mango By Smoknic
- Ice Berg By Smoknic
- Gold Virgin by Smoknic
- Double Apple by Smoknic
- Cherry By Smoknic
- Blue Mist By Smoknic
- Blackberry By Smoknic
- Blackcurrant By Smoknic
- Berry Menthol by Smoknic
- 888 Poker Sweet Jack Blacks
- Blue Rapsberry By Smoknic
- Bar Juice 5000 Nic salt
New arrivals
- Vaporesso Dojo Liq Nic Salts
- Professor Juice 10ml Nic Salt
- Beard X Series 100ml
- WGA Crystal Salt Bar 10ml
- Crystal Pro CP Nic Salts
- Pixl Nic Salts 10ml (Box of 10)
- Hayati Pro Max Nic Salts
- OX Passion Nic Salt
- Nicorefill Nic Salts
- IVG 50/50 Original
- Al Fakher 30ml 20mg E-Liquids
- Angel Nic Salts
- Fumot Nic Salts
- Al Fakher Nic Salts
- Diamond Nic Salts
- Frumist Nic Salts
- VNSN Quake 10ml Nic Salt
- Aroma King 10ml Nic Salts
- Crystal Prime Nic Salt
- RTB liq Nic Salt
Shop by brand
- 888 Poker
- Acid House
- AISU
- Al Fakher
- Anarchist
- Aroma King
- Baa Juice
- Baccy Roots
- Bar Juice
- Bar Series
- Bar Soltz Legend
- Beard Vape
- Billionaire Juice
- Bloody Bar
- Bonjour
- Callipops
- Chaos
- Chup O Chupz
- Cider
- Class6
- Cloud Empire
- Cloud Nurdz
- Coastal Clouds
- Cold Salts
- Cool Crush
- Crystal Clear
- Crystal Prime
- Crystal Salt
- Cuttwood
- Dinner Lady
- Donut Delights
- Donut Dudes
- Doozy Sweet Treats
- Doozy Tropix Salts
- Doozy Vapes
- Double Drip
- Dovpo
- Dr Frost
- Dr. Vapes
- Drifter
- ElfBar
- Elux
- Emporium
- Evil Drip
- Fango
- Fizzy Juice
- Flow Bar
- French Dude
- Fruit Jellies
- Frumist
- Fruut Salts
- Furious Fish
- Go Salts
- Gold Bar
- Grannies Custard
- Guardian Vape
- Hayati
- Heaven Haze
- Higo
- Horny Flava
- Hugos
- I Vape
- Ice Blast
- Ice Queen
- IMMYZ
- IVG
- Jack Rabbit
- JNR
- Juice & Power
- Juice Bar
- Juice Junki
- Juicee
- Just Juice
- Killer
- Kingston Eliquids
- L4
- Loaded
- Lost Liq
- Lost Mary
- Lost Vape
- Love Slush
- Moreish Puff
- Mr Berg
- My Liquids
- Nasty
- Nicorefill
- Ninja Stars
- Ninja Treats
- Ninja Vapes
- Ohm Brew
- OMG Icecream
- Oxva
- Pancake Man
- PIXL
- Pod Salt
- Predator Juice
- Professor Juice
- Puff Juice
- Pukka Juice
- RAD
- RandM Fumot
- Razz Berry
- Riot Salt
- Riot Squad
- RTB liq
- Ruthless
- Sad Boy
- Scripture
- Seriously Fruity
- Shays Juice
- Sherbet Shockers
- Ske Crystal
- SMOK
- Smoknic
- Smoothie Up
- Solt
- Suonon
- Twist
- Ultimate Puff
- Uncles Vape Co
- Vapes Bars
- Vaporesso
- VNSN
- Voopoo
- Vortex
- WGA
- Zap
- E-Liquids Brands - View all
Shop by type
Top sellers
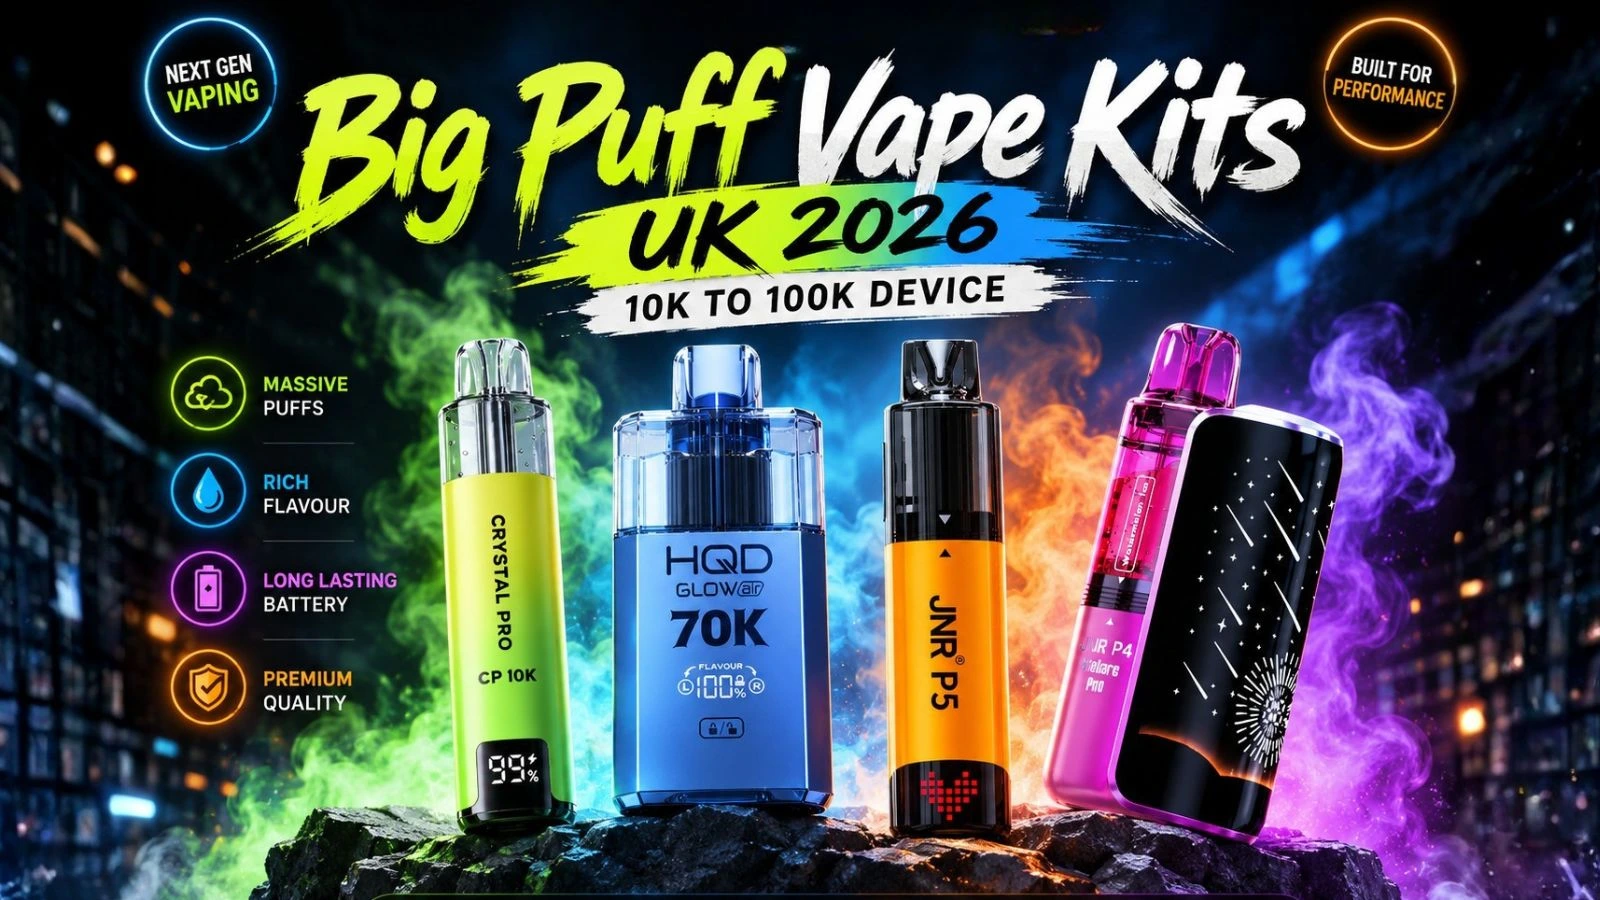
- Al Fakher Crown Bar Pro Max 12K Pods
- Aura Bar Twist 40K Puffs
- Gold Mary GM12000
- JNR AeroX 32000 Puffs
- Juesday 15000 Prefilled kit
- Vapes Bars Ghost Pro 8000
- Fumot Mate 10000 Puffs
- Elf Bar AF5500 Kit
- RandM Fumot T32000 Ultra
- Pyne Pod Click 50000 Puffs
- Hyola Ultra 30K Pods
- IVG XL 35K Kit
- Crystal Galaxy Focus 2 30K Pods
- The Bling Ultra Plus 30k Pods
- The Crystal Bling Ultra Plus 30K
- Bloody Bar 60k Prefilled kit
- VNSN Quake 10000 Puffs
- OXVA SlimStick Pods
- Oxva SlimStick
- Solo Bar Boost 30K
New arrivals
- Hayati Pro Max Plus 6000 Puffs 0mg
- Crystal Pro CP 10K Zero Nicotine
- Avomi CLIQ Mini 3000 Pods
- Avomi CLIQ Mini 3000 Puffs
- Hayati Pro Max S1 Pods
- Pods For Hayati Finebar 1000 Puffs
- OXBAR OF6000 Kit
- Hayati Pro Mini+ 1000 Pods
- Lost Mary BM6000 Pods
- HQD Glow Pro 12K Pods
- HQD Glow Pro 12K Pod Kit
- Vuse Pro Pod Kit
- Crystal Bling Max 10K Vape Kit
- Hayati Pro Ultra+ Shisha Pods
- Feoba Pro Plus 10K Pods
- Feoba Pro Plus 10K
- Elf Bar ELFX Mega Pods
- Crystal Pro CP 600 Pods
- Crystal Pro CP 600 Puffs
- Higo BB 4000 Pods
Shop by brand
- Al Fakher
- Aladdin Pro
- Aura Bar
- Avomi
- Bar Series
- BASH
- Big Bar
- Bloody Bar
- Bloody Mary
- Craving Bar
- Crystal Bling
- Crystal Galaxy
- Crystal Pro
- Crystal Storm
- Defender
- Doozy Vapes
- DotMod
- Double Drip
- Drifter
- Eleaf
- ElfBar
- Elux
- Feoba
- Fisco
- Geek Bar
- Geek Vape
- Gold Bar
- Gold Mary
- Hayati
- Higo
- HQD
- Hula
- Hyola
- IJOY
- Innokin
- INSTA
- IVG
- JNR
- Juesday
- Juicy Pod
- Kabri
- Kamikaze
- Legal Monkey
- Lost Mary
- Luv Me
- Maxfel
- Memers
- Merakii
- Mevol
- Nexel
- Oxbar
- OXVA
- PIXL
- Punch Bar
- Pyne Pod
- Quadro
- RandM Fumot
- Relx
- Riot
- Sikary
- SKE
- Ske Crystal
- SMOK
- Snowplus
- Solo Bar
- Suonon
- Tick Tock
- Titan
- Twister Bar
- Uwell
- Vabeen
- Vampire Vape
- Vapengin
- Vapes Bars
- Vaplay
- Vaporesso
- VNSN
- Voopoo
- Vozol
- Vuse
- VYLO
- Disposable Alternatives Brands - View all
Shop by type
Top sellers
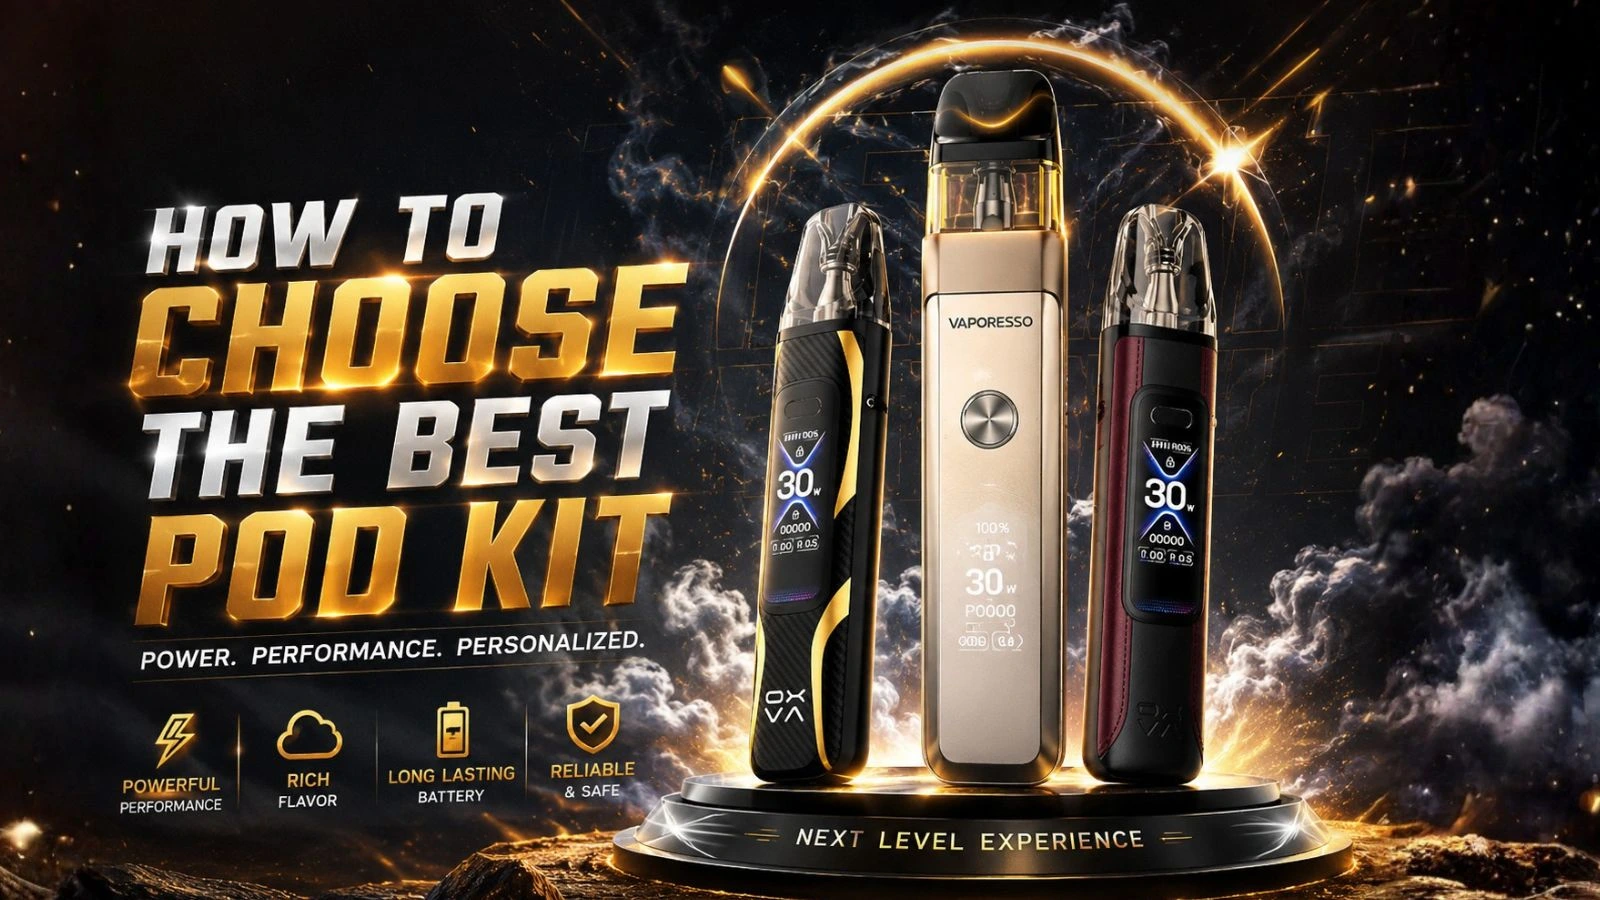
- Caliburn Koko Prime Pod Kit
- Aspire Gotek X
- Vaporesso Luxe XR Max
- ELFBAR ELFX Pro
- Oxva Xlim Pro 2
- Oxva Xlim Pro 3 Kit
- OXVA Xlim Pro Pod
- Vaporesso XROS 5 Mini
- Vaporesso XROS 5
- Uwell Caliburn G4 Mini
- Oxva Xlim Pro 2 DNA
- Geekvape Sonder Q2
- Vaporesso Eco Nano Pro
- Vaporesso Vibe SE
- Aspire Gotek X3
- OXVA Nexlim Go
- Hayati Quokka Pro
- Elux ENE Legend 15k
New arrivals
- Caliburn G5 Lite SE
- Uwell Caliburn G5 Kit
- Uwell Caliburn G5 Lite
- Vozol Ace Max Pod Kit
- Mevol Ultra Pod Kit
- Vaporesso XROS 5 Nano
- Elf Bar ELFX Mega Kit
- Caliburn G4 Pro KoKo
- Vaplay Royal Pod Kit
- Innokin Plexus Replacement Pods
- Innokin Plexus Pro Kit
- Pre Order: SMOK Novo Classy Kit
- Xlim 3 Ultra
- Oxva Xlim Pro 3 Kit
- Caliburn G4 Pro
- Xlim Go 2 Pod Kit
- SMOK Novo Go
- GTX One Pro MOD
- Vaporesso XROS Pro 2
- Elf Bar Plus 50K
Shop by brand
Shop by type
Top sellers
New arrivals
- Drag X Plus Mod
- Aegis Max Mod
- Aegis Legend 200W Vape Mod
- Drag 3 Mod
- Aegis Solo Mod
- Aegis Mini Mod
- Mini Istick
- Istick TC 40W
- Istick T80 Mod
- Istick 30W
- Istick 20W
Shop by brand
Shop by type
New arrivals
- Voopoo Argus Replacement Pods
- Vaporesso Eco Nano Replacement Pods
- Aspire Gotek X Pod
- Sonder Q Replacement Pods
- OXVA Nexlim Replacement Pods
- OXVA Vprime Replacement Pods
- Vaporesso LUXE Q Replacement Pods
- Vaporesso LUXE X Corex 2.0
- Vaporesso XROS Replacement Pods
- Caliburn A2 Replacement Pods
- Havok V1 Replacement Pod
- Yearn Neat 2 Replacement Pod
- Aeglos P1 Replacement Coil
- TPP Replacement Coil
- Crown 5 Replacement Coil
- Valyrian Pod Replacement Coil
- Sakerz Replacement Coil
- Caliburn G Replacement Coil
- Podin Pod Replacement Pod
- VThru Replacement Pod
Shop by brand
Shop by type
New arrivals
- PNP Pod Tank
- PNP RTA Pod Tank
- TPP Pod Tank
- Crown 5 Tank
- Sakerz Tank
- TFV 9 Tank
- TFV Mini V2 Tank
- Onixx Tank
- Nautilus GT Tank
- Cleito Vape Tank
- K3 Vape Tank
- K2 Vape Tank
Shop by brand
Shop by type
New arrivals
- Wick N Vape Cotton Bacon
- Vandy Vape Cotton
- Cotton Bacon
- Vape Cotton
- I2 Vape Battery Charger
- D2 Vape Battery Charger
- V2 In Car Battery Charger
- UM20 Vape Battery Charger Two Bay
- Intellicharger I8 8 Bay Battery Charger
- I4 Vape Battery Charger Four Bay
- SLIM K2 USB Vape Battery Charger
- LUSH Q8 Vape Battery Charger
- LUSH Q2 Vape Battery Charger
- LUC V6 6 BAY Battery Charger
- IMATE R2 Battery Charger
- IMR 21700 5000mAh 30A 3 7V Flat Top Battery
- IMR 21700 4000mAh 30A Flat Top Battery
- IMR 21700 3700mAh 35A Flat Top Battery
- IMR 18650 1600mAh Flat Top Battery
- IMR 18650 2100mAh 30A Flat Top Battery
Shop by brand
Shop by type
Top sellers
- JNR Nicotine Pouches
- Ghost Nicotine Pouches
- Elux Nic Pouches
- ELF Nicotine Pouches
- Al Fakher Nic Pouches
New arrivals
- Chapo White Nic Pouches
- ZEUS Nic Pouches
- Hayati Nic Pouches
- Vozol Nicotine Pouches
- Angel Nic Pouches
- Al Fakher Nic Pouches
- Cuba White Nic Pouches
- Angel Nicotine Strips
- ELF Nicotine Pouches
- Angel Nic Lozenges
- Ghost Nicotine Pouches
- Ghost Nic Lozenges
- JNR Nicotine Pouches
- Velo 17mg Nic Pouches
- Velo 14mg Nic Pouches
- Velo 11mg Nic Pouches
- Velo 10mg Nic Pouches
- Pablo 50mg Nic Pouches
- Pablo 30mg Nic Pouches
- Elux Nic Pouches
Shop by brand
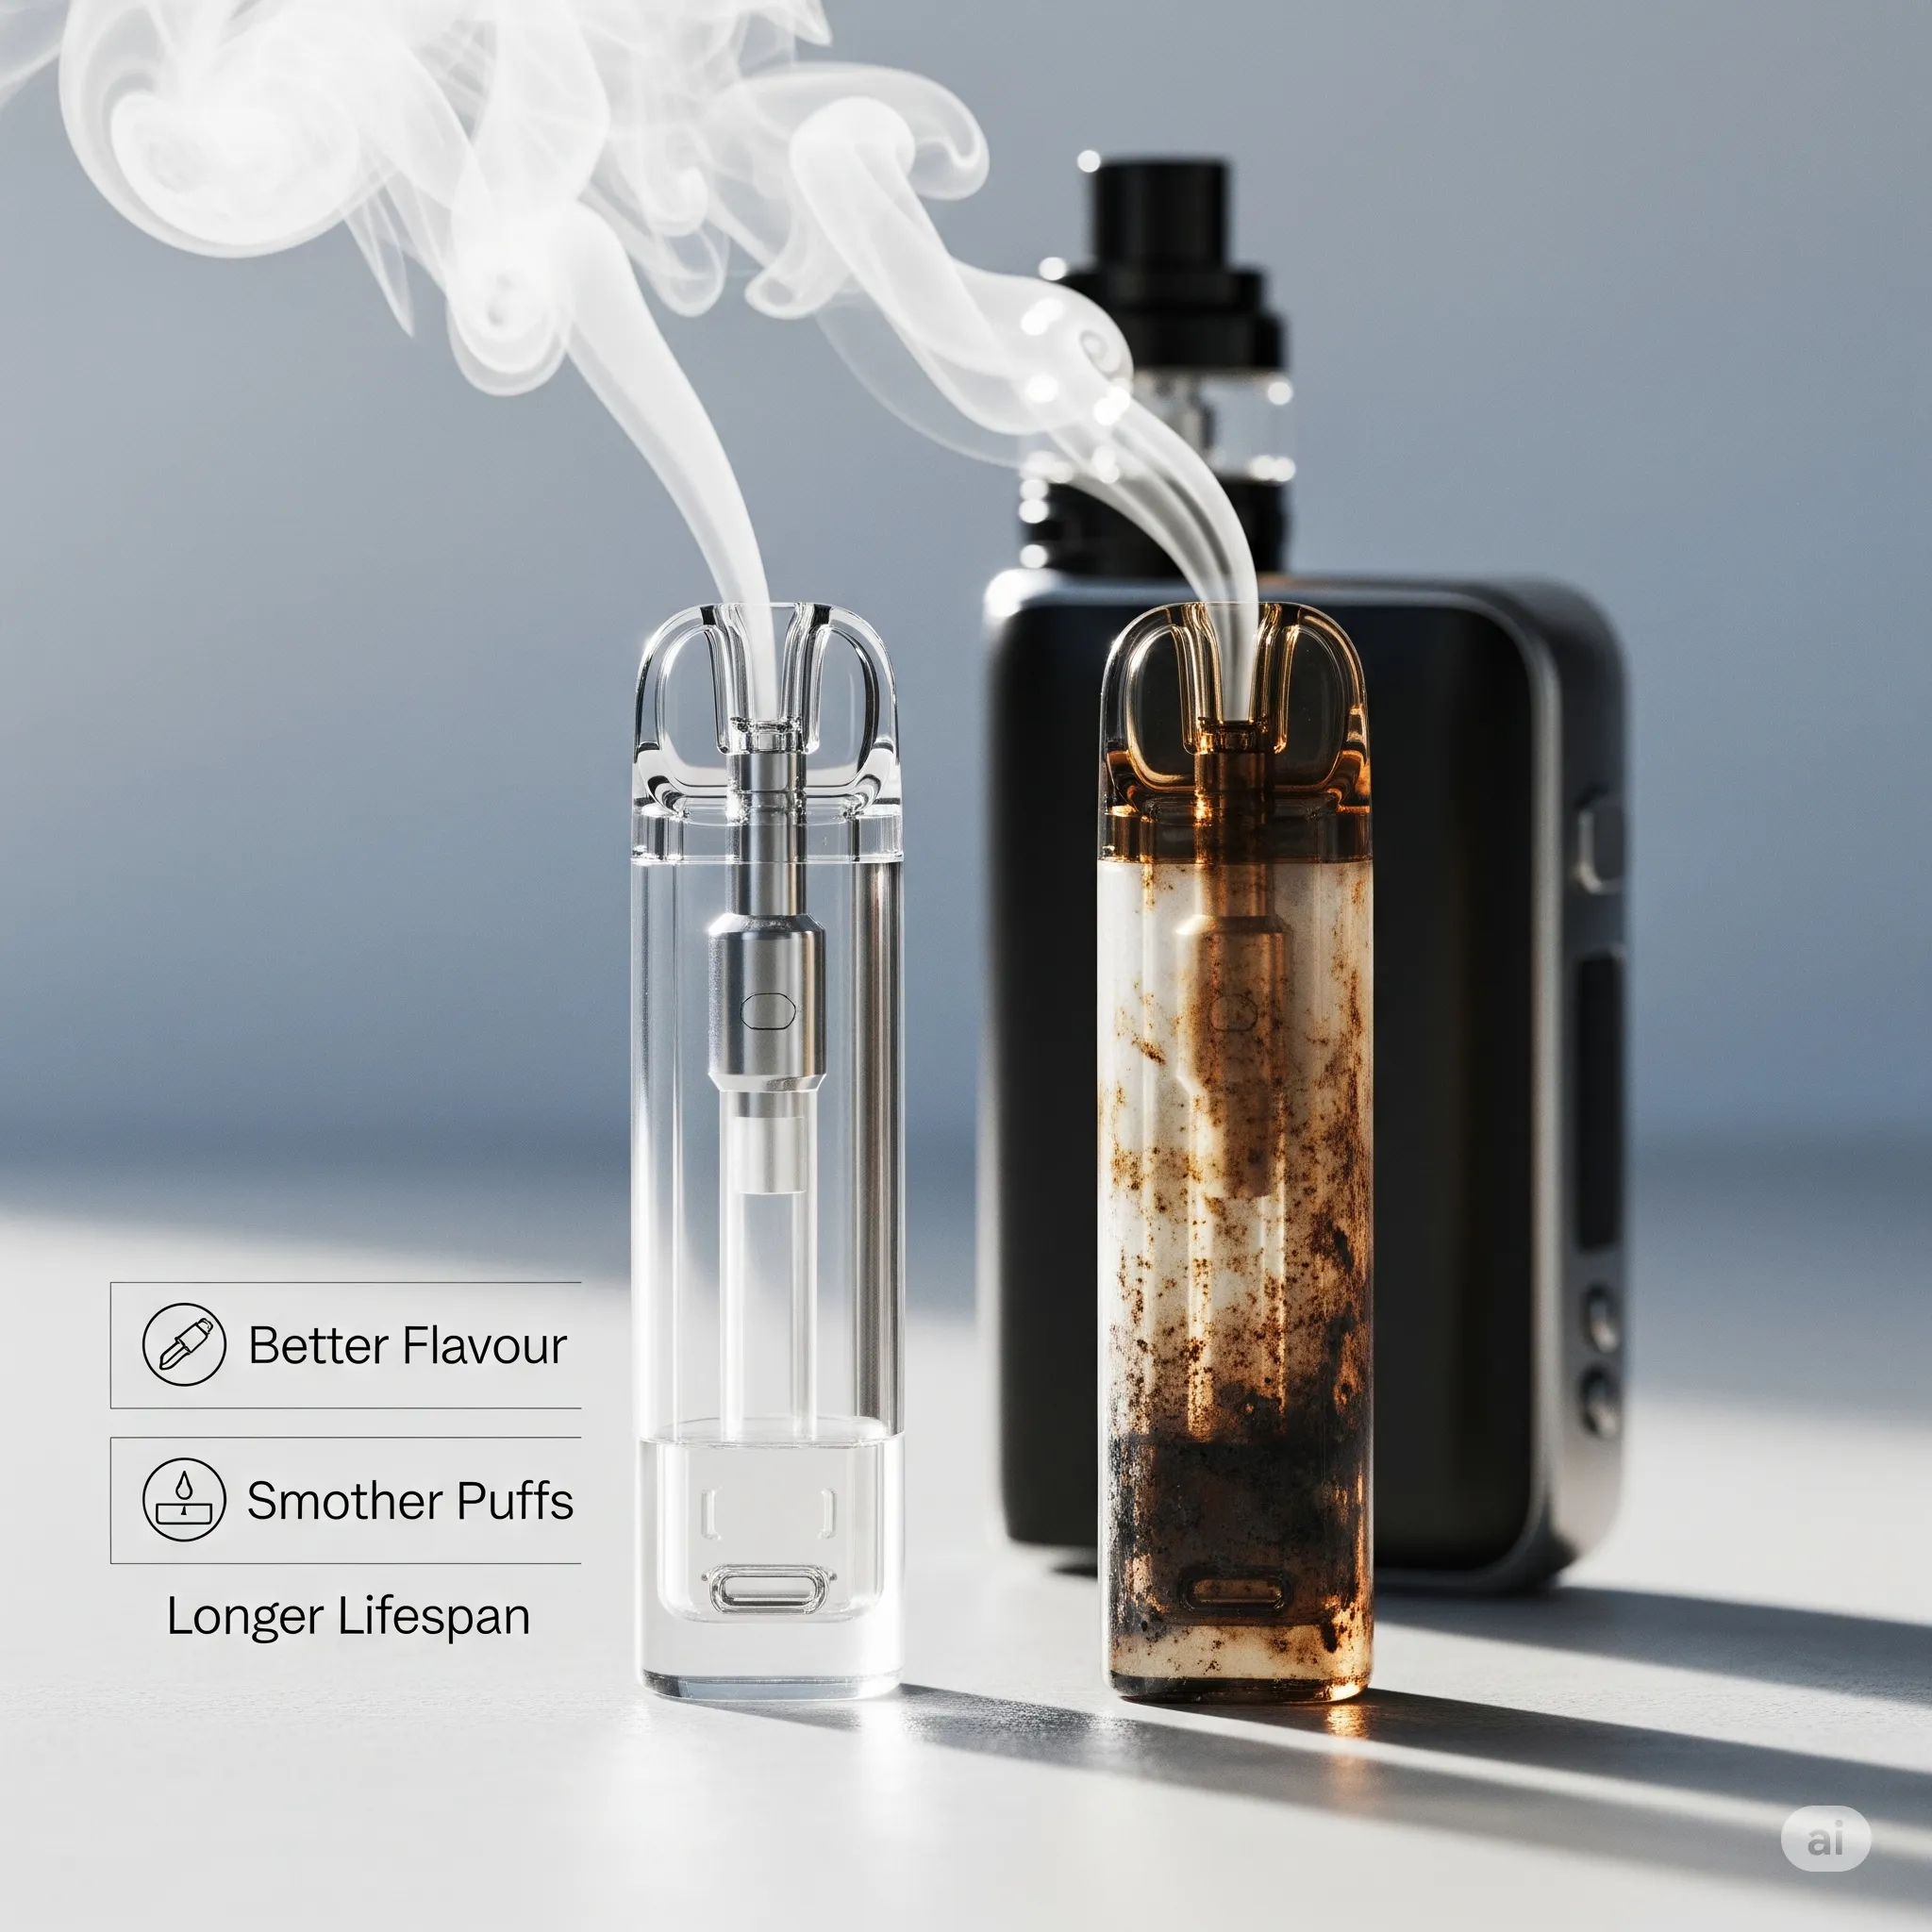


0 comments For How to Clean Your Vape Pod: The Ultimate Maintenance Guide for 2025